cPanel is one of the most popular web hosting control panels globally. With it’s easy-to-understand interface, cPanel lets many website owners control their hosting accounts without needing advanced skills. One of the easiest yet most powerful tools in cPanel is called the File Manager. The File Manager allows you to manage and upload your website files directly through your browser.
In this tutorial, we will show you how to upload files to your hosting account using the File Manager in cPanel, along with why this is helpful and why it can save you valuable time.
Why File Upload Matters
Uploading files is one of the core functions of any web hosting platform, which is easy and intuitive with cPanel. Regardless if you are updating the design of your website, adding media files, or replacing old content, the File Manager in cPanel allows you to manage your files without having to use any further software or complicated command line commands.
Steps to upload Files Using the File Manager
Step 1: Log in to Your cPanel
- Open your browser and type: (yourdomain.com/cpanel )

- Enter your username and password (provided by your hosting provider).

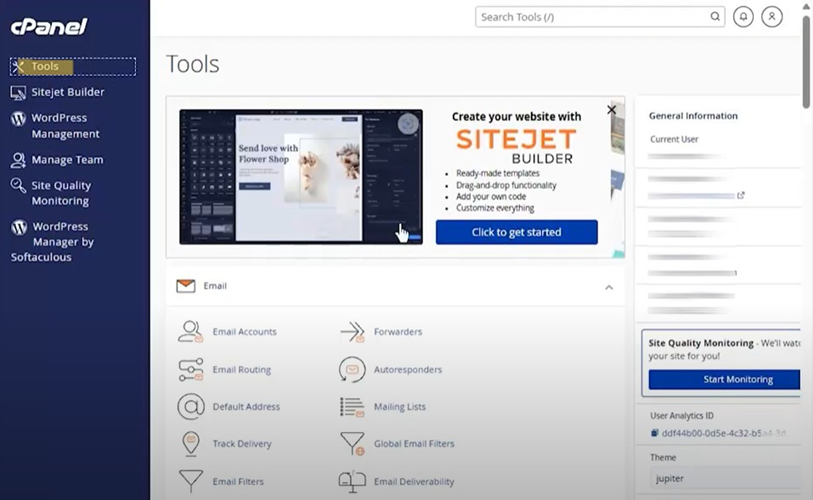
Step 2: Open File Manager
- Once you are inside cPanel, click on Tools
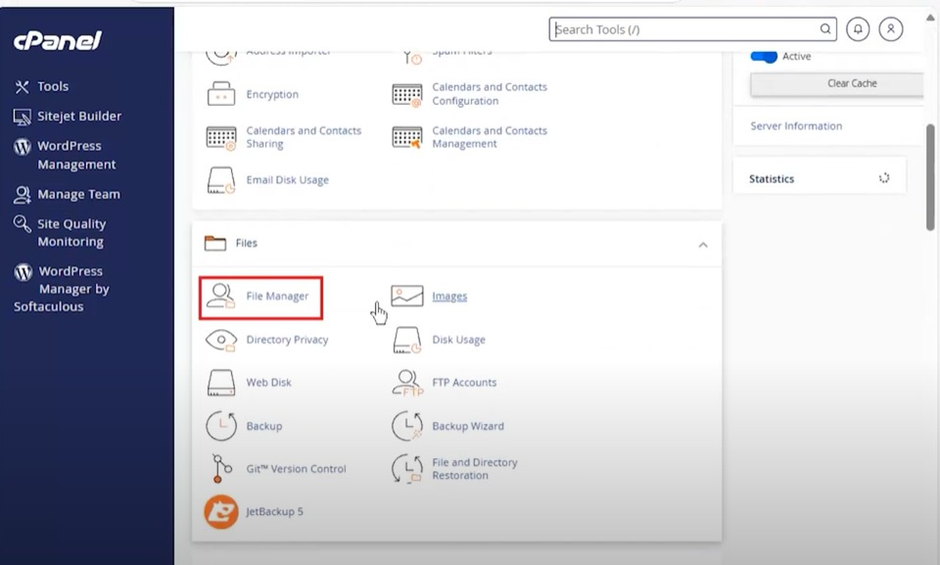
- Scroll down to the Files section, and click on File Manager.
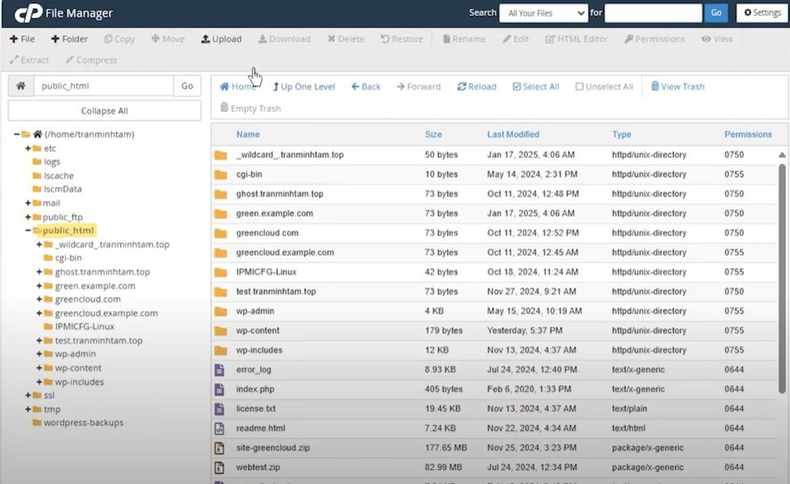
Step 3: Choose the Directory
When File Manager opens, you will see a folder tree on the left side.
- Navigate to the folder where you want to upload your file.
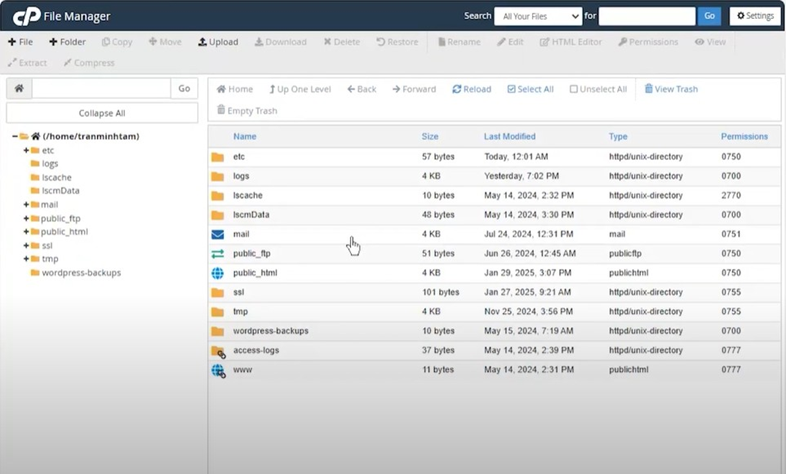
- For website files, usually, it is the public_html folder.
Step 4: Click on “Upload.”
- At the top menu bar, click the Upload button.
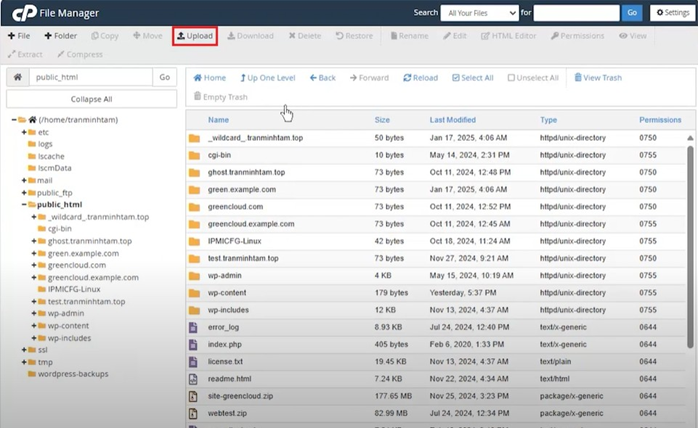
- A new tab/window will open where you can select files from your computer.
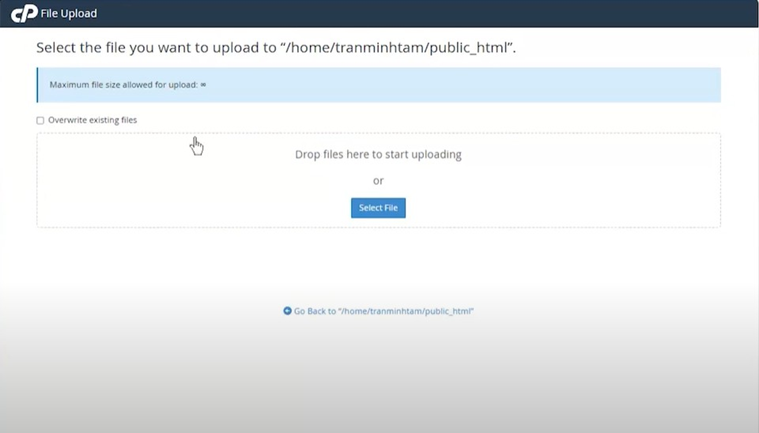
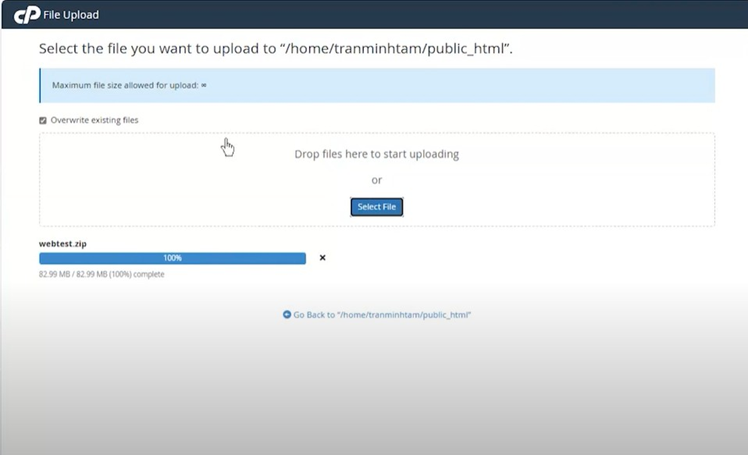
Step 5: Select Your File
- Click Select File (or drag and drop files into the box).
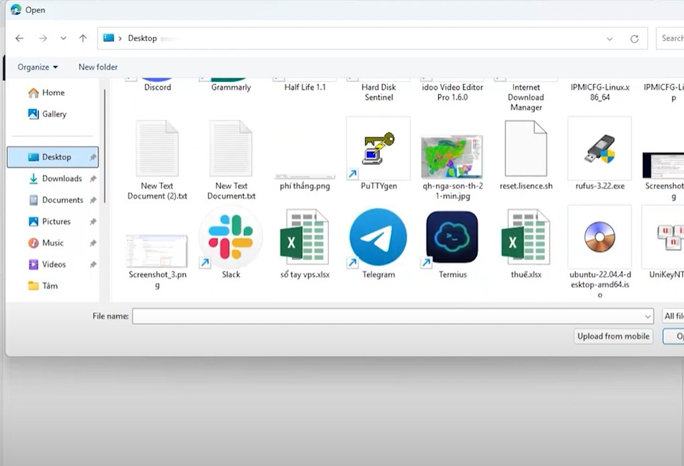
- Choose the file from your PC that you want to upload.
- The upload will begin immediately, and you’ll see a progress bar.
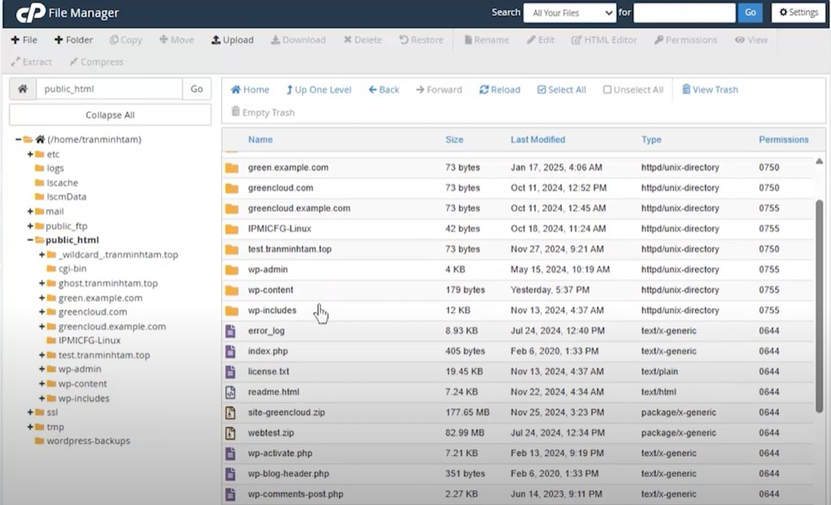
Step 6: Verify the Upload
- After the upload is complete, return to File Manager.
- You should now see the file in the folder you selected.
- Right-click on it to view, edit, rename, or set permissions.
Uploading files using the File Manager in cPanel is one of the easiest yet still one of the most important tasks every website owner should learn. With File Manager you will not have the pain of installing and configuring an FTP program. Instead, you can manage your site from any device that runs a browser (including Windows!) After all, it is more than just a hosting control panel. It allows even a non-coding user to manage their website with relative ease.
Getting used to uploading files with cPanel will give you more control over what gets uploaded to your website and can improve how efficient your workflow is, lower website downtime and speed up website content updates…. whether it’s for coming up with a new page, images that need changing or creating downloadable resources for your users, cPanel ensures this process is streamlined and secure.
The File Manager in cPanel also allows you to create folders, set permissions, update filenames or move/delete files from the same interface. This central file management is one of the contributors of cPanel is still the most popular control panel in the web hosting industry.
💡 Additional Tips for Using File Manager
- Use the Preview Option: Prior to replacing older files, be sure to use the preview option to confirm that you are uploading the correct file.
- Use Simple File Names: Use underscores and dashes in file names instead of spaces or special characters in order avoid broken links on your site.
- Monitor Disk Usage: Always check Disk Usage in the cPanel to make certain you are not running out of space!
- Set Correct Permissions: Always check the file permissions (typically 644 for files and 755 for folders) to avoid security issues and functionality problems.
- Organize Media and Document Files: Create folders such as /images or /docs or /downloads in public_html so your file structure is easy to use.
- Regularly Clean Out Old Backups: If you’re uploading backups in the file manager, be sure to delete your older backup files – they take up space!
Leave a Reply